Ok so we are gona do a craft tutorial today. Its not the norm but i love love love this jewlery board i made. I have several but this one is too cute. I had a mirror that got mysteriously broken so instead of throwing it out i removed the back and with gloves removed the glass. But if you don't have an old frame or mirror you can always pick one up at goodwill for a few dollars and paint it if you desire. I bought a yard of fabric for a little over $5 new on ebay and a $3 foam board so the project cost me $8.
Supplies:
Large frame
Screw driver
Spray adhesive
1/2 Yrd of fabric
Large foam board
Scissors
Thumb tacks
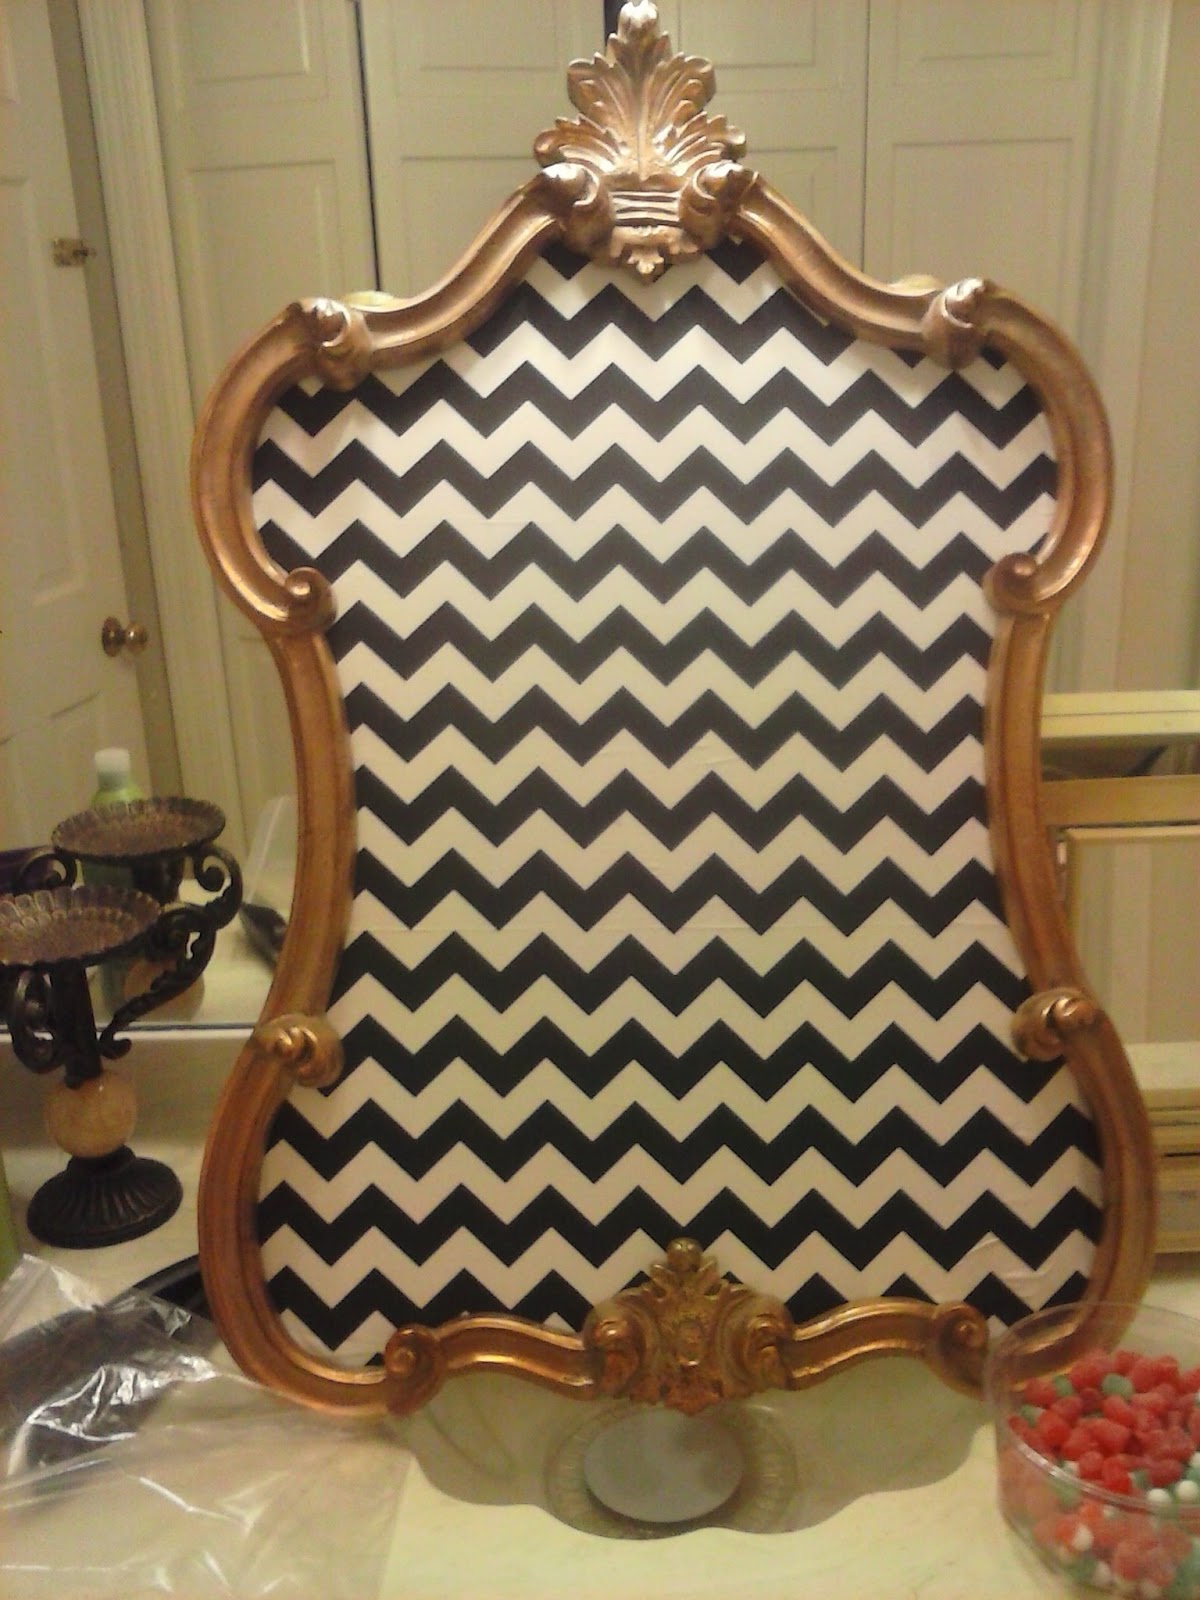
My mirror had a back that screwed on so i removed it with the screw driver but if yours is a paper back then cut it open and remove any glass carefully. Trace your frame from the inside onto your foam board. Then with exacto knife or a kitchen knife or box cutter or whatever you have cut out your foam board to fit in your frame. Check it and make sure it fits properly and trim it if necessary. Then place your fabric on the foam board and adjust your pattern if you have one to how you want it to appear in your frame and cut the fabric with sharp scissors leaving about a 2 inch extra allowance for easy gluing. Spray your foam board with the spray adhesive and place your fabric on it smoothing with your hands. Then turn it over and pull your extra fabric around the back which it easy if it is square but if you have a rounded odd shaped frame you may have to cut slits in the rounded areas to pull your fabric tight in the back. Then glue the fabric on the back as well. If you have a back that screws on just simply replace it and screw it on but if your frame had a paper back that you cut use a hot glue gun to glue around the inside rim of your frame and then place the covered foam in. You can then use push pins to put necklaces, bracelets or rings where you desire.
I had clear push pins i wanted to dress up so i used a hot glue gun and added rhinestones to the ends!


No comments:
Post a Comment